Ingredients
- 4 cups all-purpose flour
- 1 teaspoon salt
- 1/2 cup unsalted butter melted
- 4 large egg yolks
- 1 cup water
Instructions
- In a large mixing bowl, whisk together the all-purpose flour and salt until evenly distributed.
- Pour the melted butter, egg yolks, and water into the flour mixture.
- Using clean hands, mix the wet and dry ingredients together until a shaggy dough begins to form. Transfer to a lightly floured surface and knead until a smooth, consistent ball develops. If the dough feels sticky, gradually add flour one tablespoon at a time.
- Wrap the dough in plastic wrap or cover with a clean kitchen towel. Refrigerate for at least 30 minutes to allow the gluten to relax.
- Remove dough from refrigerator and divide into 16 equal portions. Roll each portion into a ball, then use a rolling pin to flatten each ball into a 5-6 inch circle, about 1/8 inch thick.
- Place 2-3 tablespoons of desired filling in the center of each circle. Lightly brush the edges with water, fold the dough over to create a half-moon shape, and seal the edges using a fork or by crimping with your fingers.
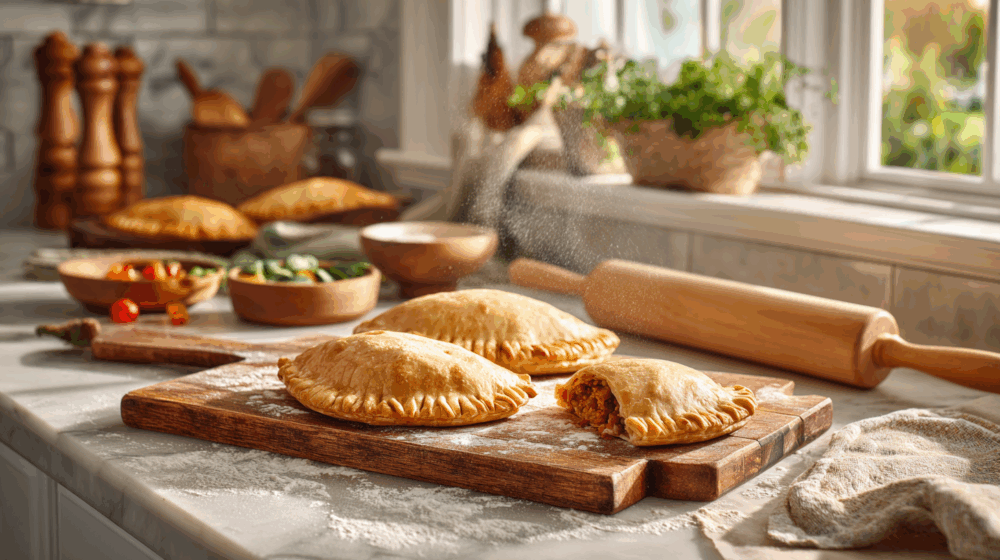
- For baked empanadas: Brush with egg wash and bake at 400°F for 20-30 minutes until golden brown. For fried empanadas: Heat oil to 350°F and fry each side until golden brown and crispy.
There’s something incredibly satisfying about making empanadas from scratch, and it all starts with the perfect dough. After years of experimenting in my kitchen, I’ve discovered that the secret to amazing empanadas isn’t complicated at all – it’s about finding that sweet spot between simplicity and technique.
I still remember the first time I attempted homemade empanada dough. I was intimidated by all the different recipes I found online, each claiming to be “the best” or “most authentic.” Some called for lard, others demanded specific types of flour, and a few even insisted on adding vinegar or baking powder. The truth is, after making hundreds of empanadas over the years, I’ve learned that the most reliable approach is often the simplest one.
This particular dough recipe has become my go-to for good reason. With just five basic ingredients that you probably already have in your pantry – flour, salt, butter, egg yolks, and water – you can create empanada shells that are tender, flaky, and perfectly golden every time. The beauty lies in its versatility; whether you’re planning to bake them for a lighter option or fry them for that irresistible crispy exterior, this dough delivers consistently excellent results.
What I love most about this recipe is how forgiving it is. Unlike some finicky pastry doughs that require precise temperatures and timing, this empanada dough is quite accommodating. If it feels a bit too sticky, you can work in a little extra flour. If it seems dry, a splash more water will bring it together beautifully. This flexibility makes it perfect for home cooks who want professional-quality results without the stress.
The technique is straightforward, but there are a few key points that make all the difference. First, I always use melted butter rather than cold butter. This might seem counterintuitive if you’re used to making pie crusts, but for empanada dough, melted butter creates a more tender, pliable texture that’s easier to work with and less likely to crack when you’re folding and sealing your empanadas.
The egg yolks add richness and help bind everything together, while also contributing to that gorgeous golden color when baked. I prefer using just the yolks rather than whole eggs because they provide fat without adding too much moisture, which could make the dough difficult to handle.
One of the smartest things you can do when making this dough is to chill it properly. That 30-minute rest in the refrigerator isn’t just a suggestion – it’s essential. During this time, the gluten relaxes, making the dough much easier to roll out without springing back. I’ve tried skipping this step when I was in a hurry, and the difference is noticeable. The chilled dough rolls out smoothly and maintains its shape beautifully.
When it comes to rolling out the individual portions, I aim for circles that are about 5 to 6 inches in diameter and roughly 1/8 inch thick. This thickness provides enough structure to hold your filling without being too thick or doughy. If you don’t have a rolling pin, don’t worry – you can actually flatten each portion by hand and then use a small plate or even a large can to help shape them into circles.
The filling possibilities are endless, which is another reason why mastering this dough recipe is so worthwhile. I’ve used it for traditional beef picadillo, creamy chicken and vegetable mixtures, cheese and spinach combinations, and even sweet fillings like spiced apples or guava and cream cheese. The neutral flavor of the dough complements both savory and sweet fillings beautifully.
For sealing the empanadas, I’ve found that lightly brushing the edges with water creates the perfect amount of moisture for a secure seal. Too much water can make the dough soggy, while too little won’t create a proper bond. After placing your filling and folding the dough over, press the edges firmly with a fork or use the traditional repulgue technique – that decorative twisted edge that not only looks beautiful but also ensures a tight seal.
If you’re planning to bake your empanadas, an egg wash is essential for achieving that restaurant-quality golden brown finish. I simply whisk together one egg with a tablespoon of water and brush it over the tops before baking. The result is empanadas that look absolutely professional and taste even better.
For those who prefer frying, this dough becomes incredibly crispy and flaky when cooked in oil heated to 350°F. The key is maintaining the proper oil temperature – too hot and the outside will brown before the filling heats through; too cool and the empanadas will absorb too much oil and become greasy.
One of the most practical aspects of this recipe is how well it freezes. I often make a double batch and freeze half of the rolled-out circles with parchment paper between each one. They keep beautifully in the freezer for up to two months, making it easy to whip up fresh empanadas whenever a craving strikes. You can also freeze the empanadas after they’re filled and sealed, then bake or fry them directly from frozen – just add a few extra minutes to the cooking time.
The texture of these empanadas is what really sets them apart. When baked, they develop a tender, slightly flaky exterior that gives way to a soft, pillowy interior. When fried, they become gorgeously crispy on the outside while maintaining that perfect tender bite. Either way, the dough provides the ideal backdrop for whatever filling you choose.
I’ve served these empanadas at family gatherings, potluck dinners, and casual weeknight meals, and they never fail to impress. There’s something special about homemade empanadas that store-bought versions simply can’t match. The dough has more flavor, better texture, and that unmistakable quality that comes from being made with care in your own kitchen.
Whether you’re new to empanada making or looking to perfect your technique, this dough recipe is an excellent foundation. It’s reliable, delicious, and adaptable to whatever fillings you have on hand. Once you experience the satisfaction of biting into a perfectly golden empanada made with your own homemade dough, you’ll understand why this simple recipe has become such a treasured part of my cooking repertoire.